Once for each lab you print with. After that, every new album starts with the right size, cover and material. Here is the order; every field is explained in chapter 3 (A lab size) and chapter 13 (Cover, endpapers and materials).
What you need from your lab: the PSD templates for each size (of the pages and, if the lab has one, of the cover) and pictures of its material samples, one per material.
1
A new lab
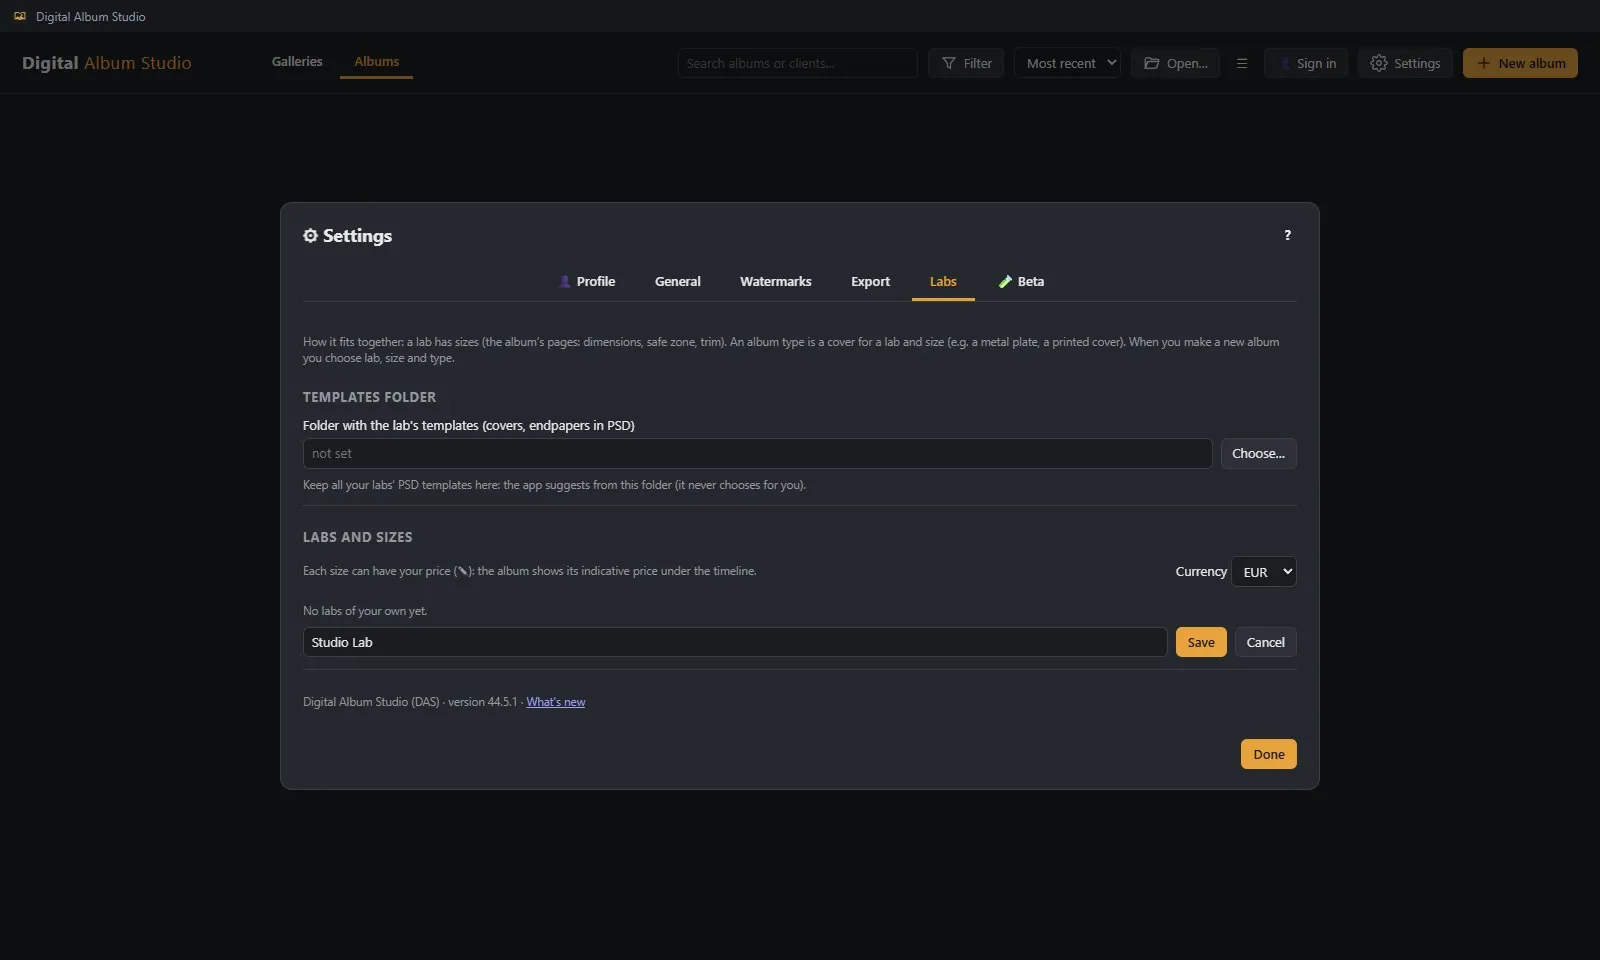
- ⚙ Settings › Labs › + New lab: type its name and click Save.
- You can change the name any time by typing over it. The row’s 🗑 deletes the lab together with its sizes.
2
The folder with the PSD templates
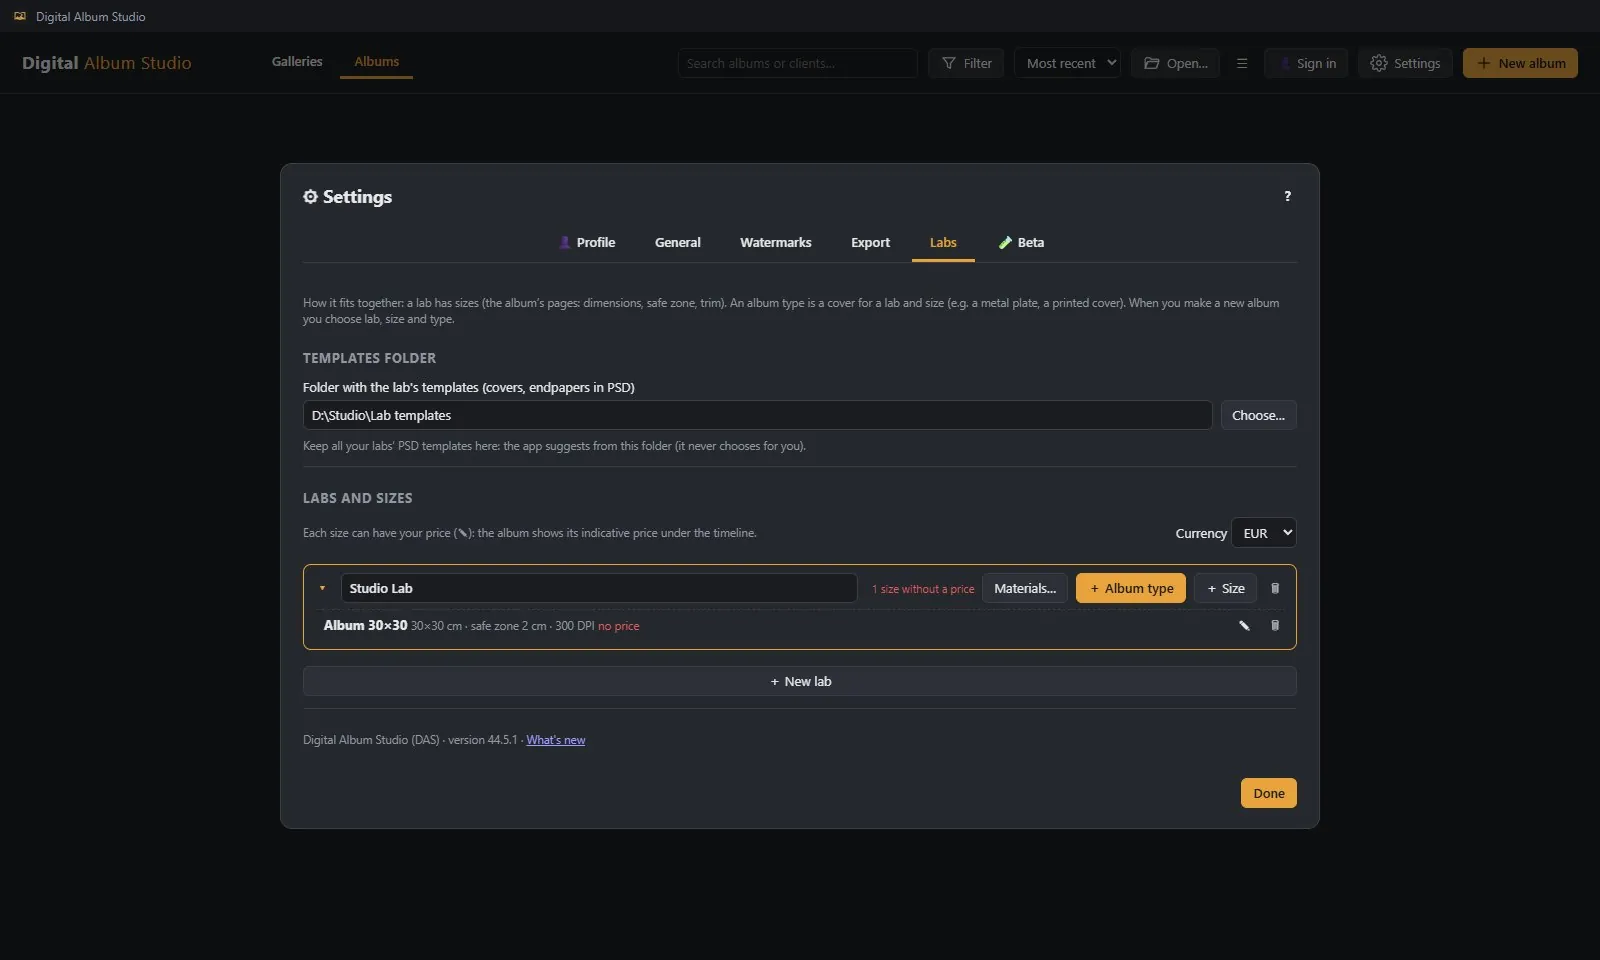
- At the very top, in Templates folder, click Choose… and pick the folder where you keep the PSDs of all your labs, pages and covers. There is one for all labs.
- Every PSD choice in the app opens in this folder, and the app suggests templates from it; it never picks one by itself. It reads the files directly inside it, not in subfolders.
- It helps when each file name says what it is and its size, e.g. “30x30 pages.psd” and “30x30 cover.psd”.
3
A new size from the lab’s PSD
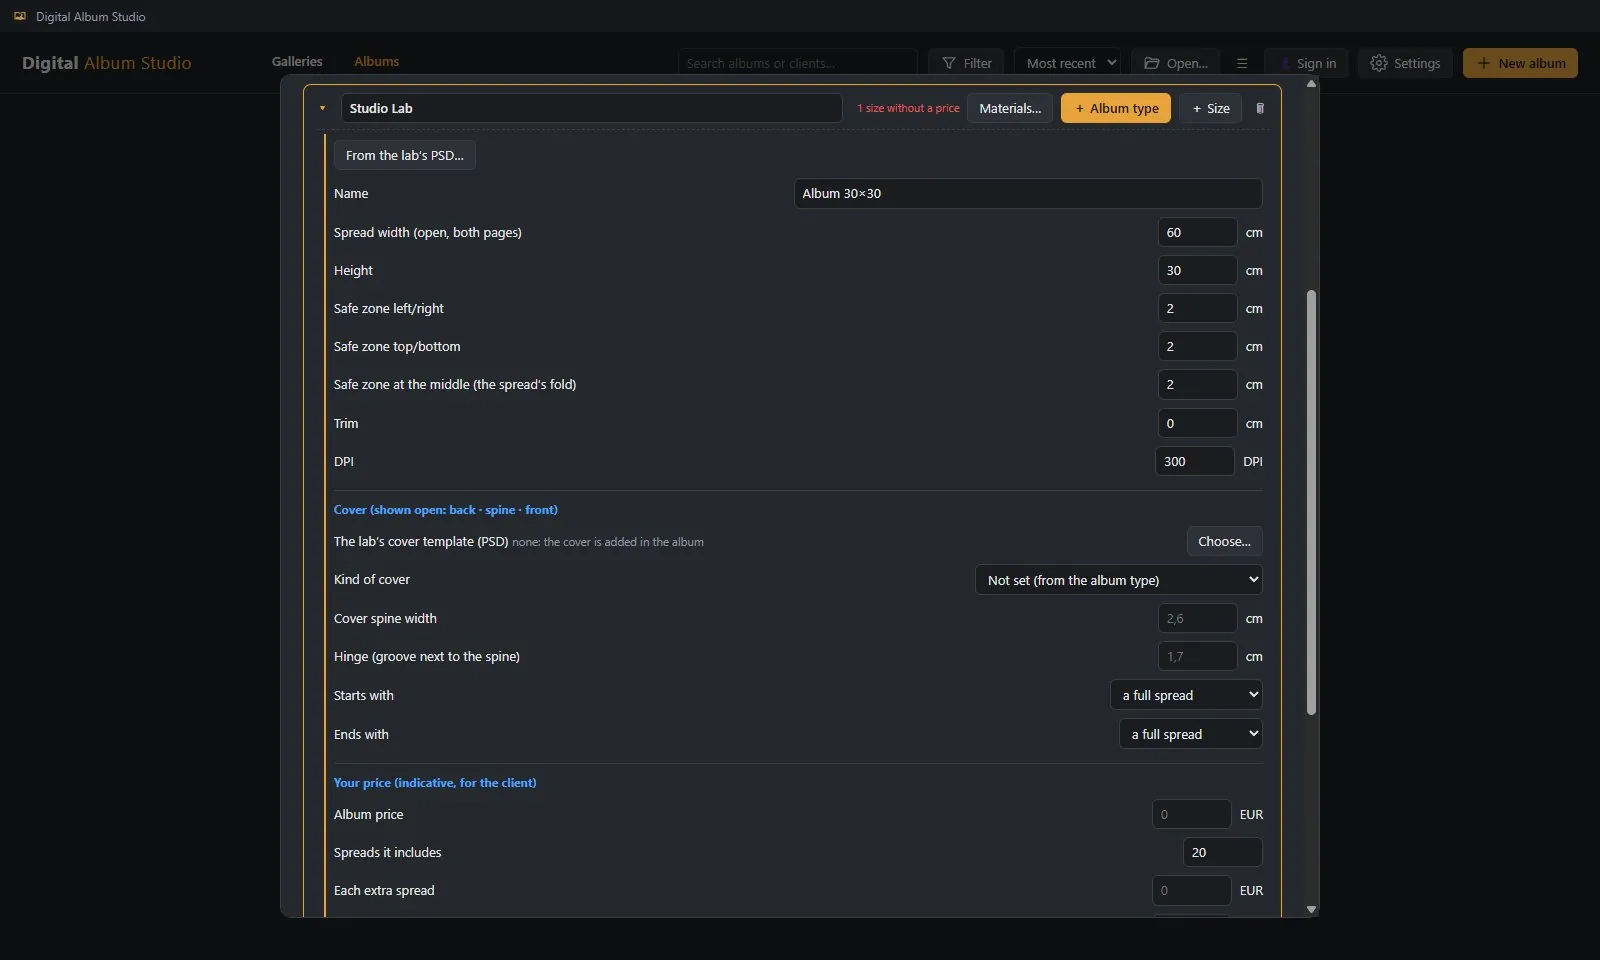
- On the lab’s row click + Size, and in the form first From the lab’s PSD…. Pick the template of the pages (the spreads), not of the cover; if the file name looks like a cover’s, the app asks before using it.
- It reads the spread size and the DPI, and from the file’s guides the safe zone and the trim. A file with a single page: the spread becomes two of it. A file without guides: only the size and DPI are read, and you set the safe zone yourself.
- What to check before you save: the spread width (open, both pages) and height, the safe zone left/right, top/bottom and at the middle, the trim and the DPI. Give it a name you will recognise in “New album”, e.g. “Album 30×30”.
- In the same form, at The lab’s cover template (PSD), click Choose…: every new album of this size gets its cover ready from it. Without a template, you set up the cover in the album (step 5).
- Did your lab change something? The size’s ✎ opens the form again. Albums already made keep their own settings.
4
The materials library
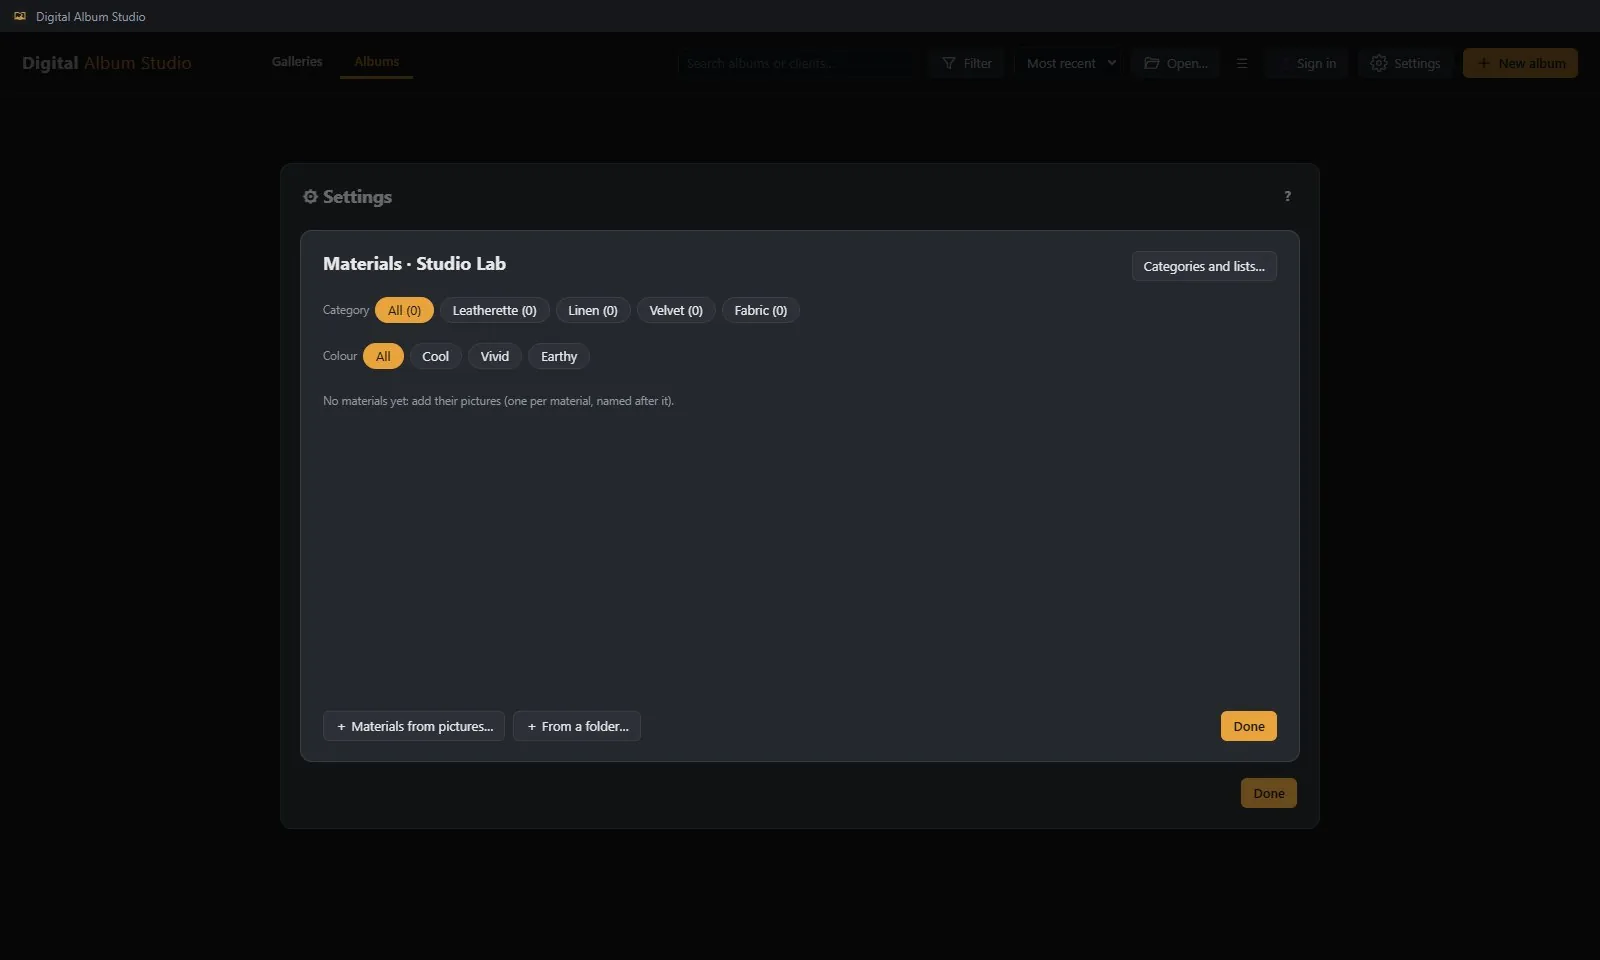
- On the lab’s row click Materials…. Each material starts from a picture of its sample, in two ways:
- + Materials from pictures…: pick one or more pictures (JPG, PNG, WebP, TIFF). Each picture becomes a material, named after its file (underscores _ become spaces).
- + From a folder…: every picture in a folder becomes a material (not its subfolders).
- New materials go into the category and colour chosen at that moment. Choose “Leatherette” first, for example, and then add the leatherettes; then “Linen” and the linens.
- Click a material: name, lab code (optional, written on the order sheet), category, colour and What can be done on it (e.g. gold foil). Categories and lists… adds your own categories and colours.
- The app does not make a material without a picture, and it does not read a list of materials from Excel or CSV.
5
A ready cover type
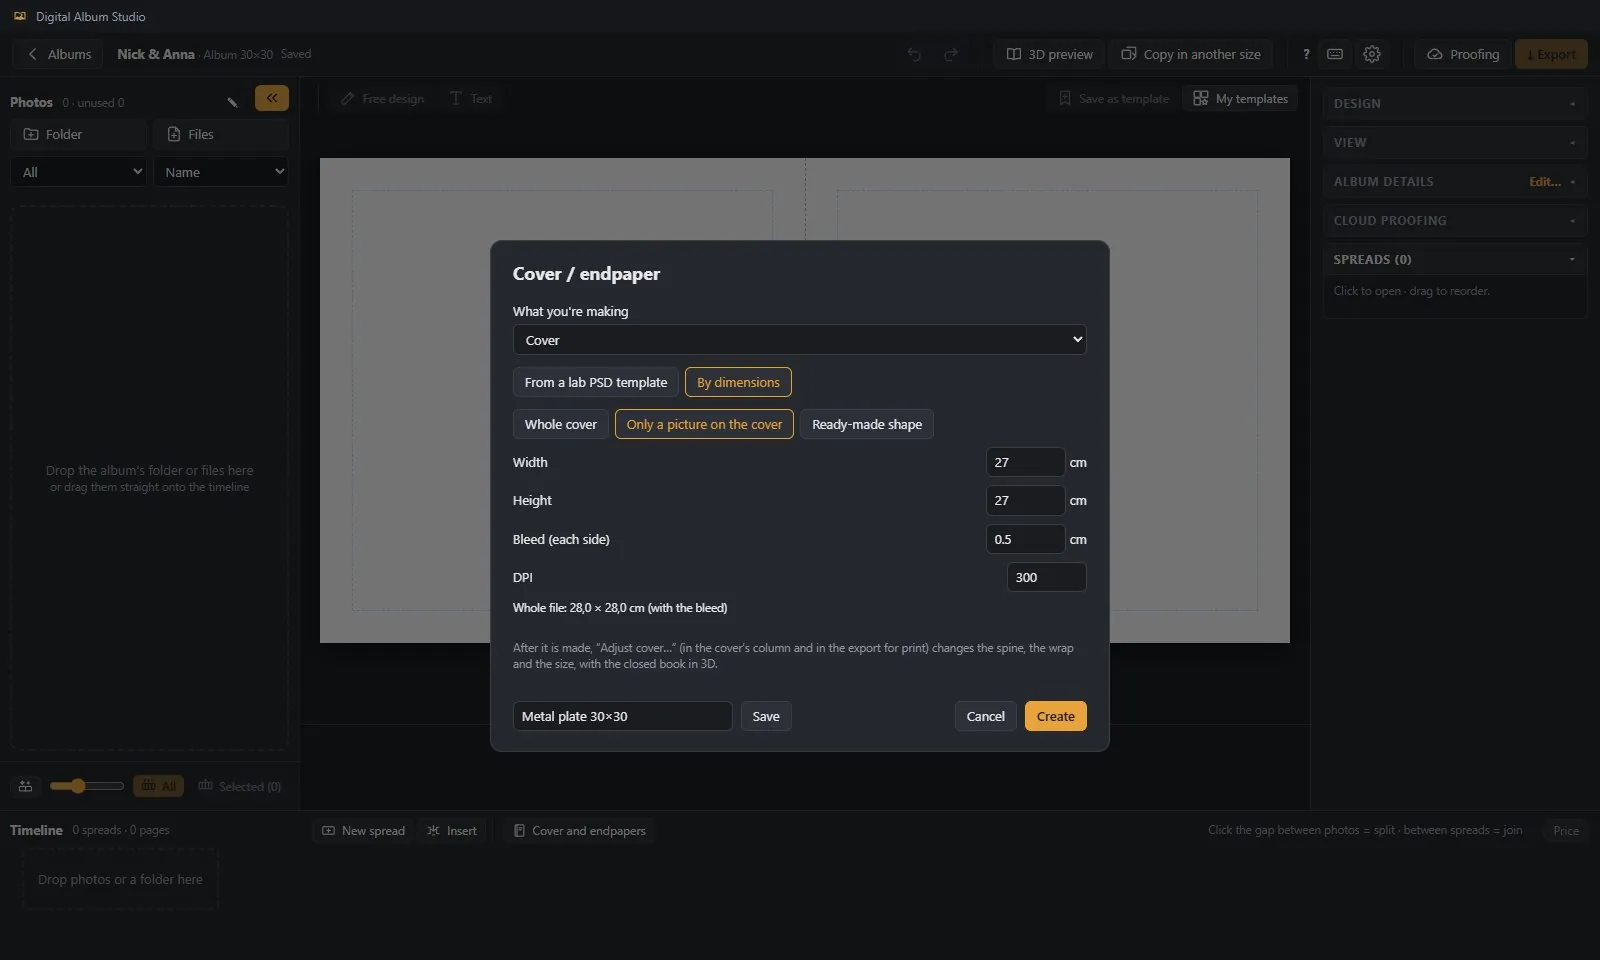
- If the size has a cover template (step 3), the cover comes ready. Otherwise, in an album, click Cover and endpapers (under the timeline) and choose From a lab PSD template or By dimensions: Whole cover for a printed cover, Only a picture on the cover for a plate.
- Bottom left, at Save this cover as…, type a name (e.g. “Metal plate 30×30”) and click Save. It keeps the cover’s setup (the template or the dimensions), not the photos, for this lab and size.
- For an album type of the lab, with its own cover, material and sizes, click + Album type on the lab’s row: name, kind of cover, Material… and its sizes.
6
In the new album and on the order sheet
- In New album you choose Lab / sizes, then Album type (if the lab has types), Size and Type / cover (if you saved some). When the size has a cover template, it says so below: “✓ Cover: the lab’s template…” (chapter 7).
- In ⤓ Export › For print, the order sheet lists lab, size, cover (template or dimensions) and material with its code, ready to paste into the lab’s order form (chapter 16).